How to install Tile Backer Boards
tilefix store guides & advice

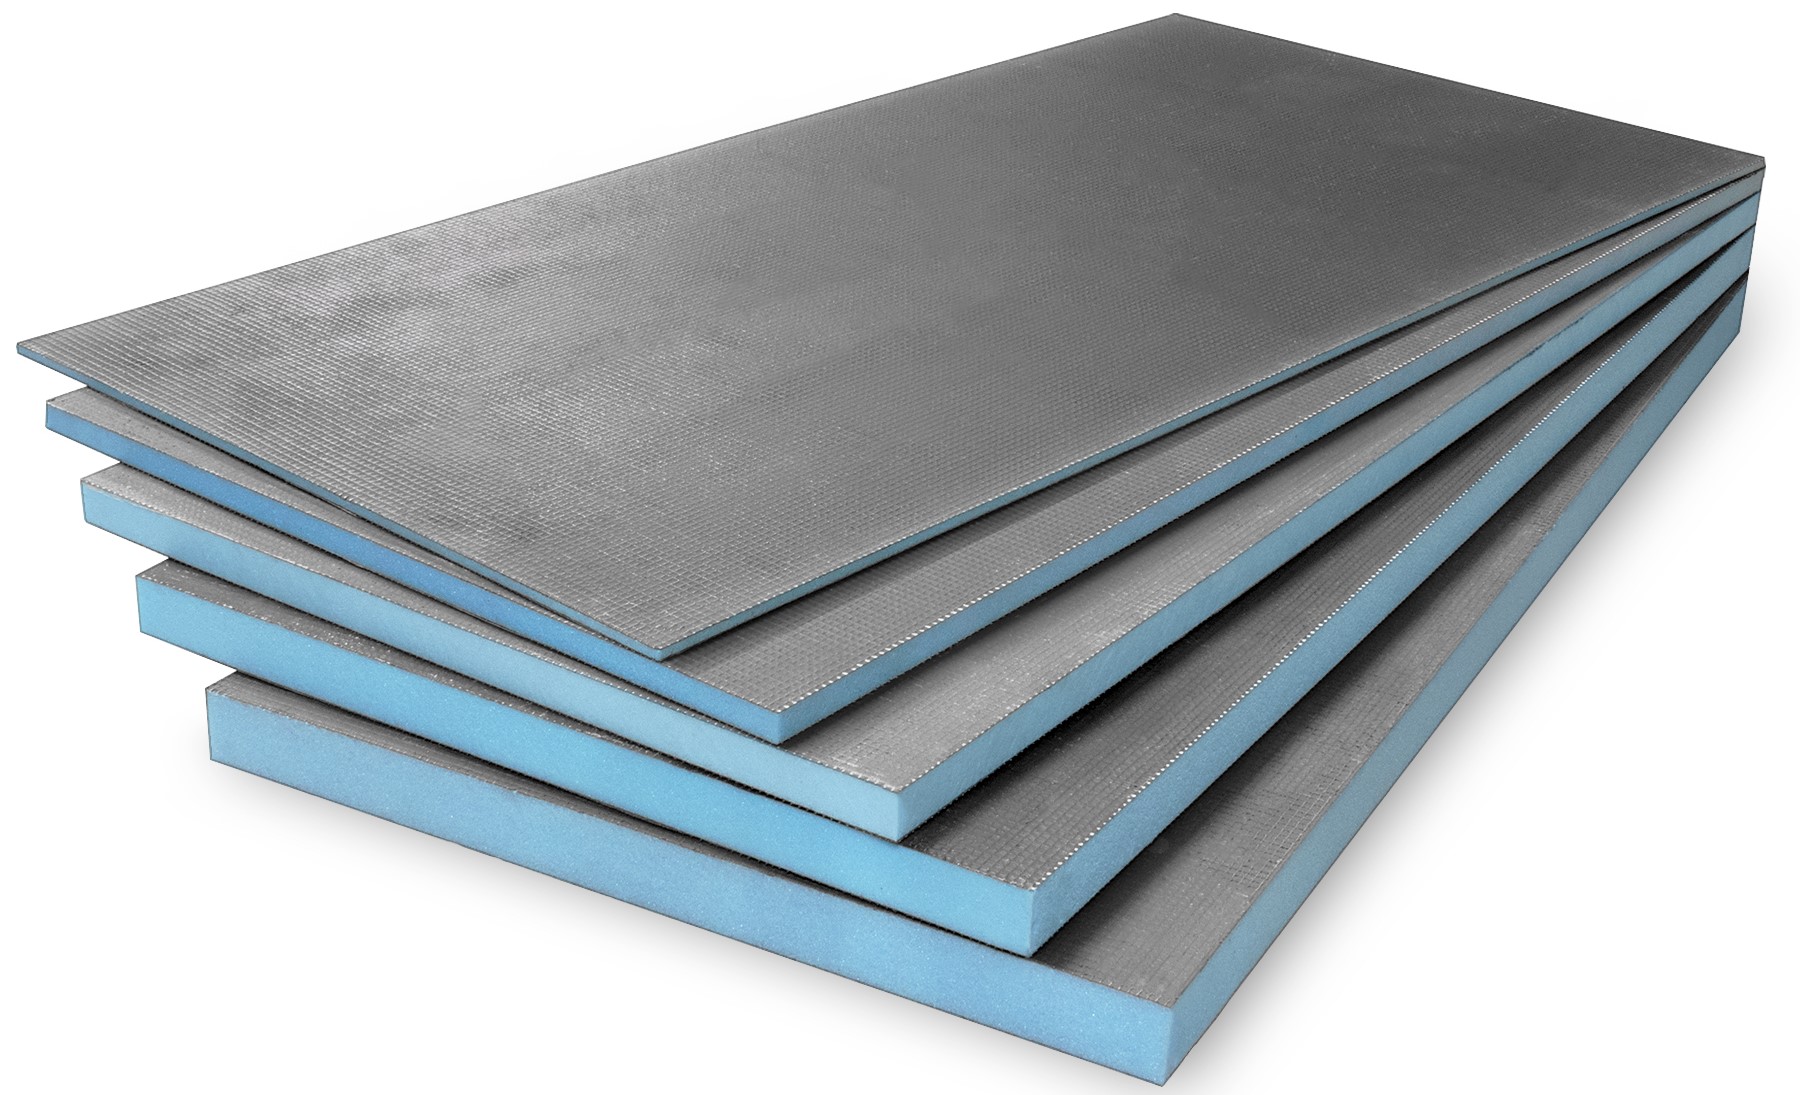
Tile backer boards provide a waterproof base for placing tiles in your wet room. Working to prevent water from reaching the surfaces beneath the boards, tile backer boards allow you to build a totally waterproof installation, keeping your wet room clean and dry with ease. Installing tile backer boards is extremely simple and can be installed multiple ways, suiting a variety of different applications.

How to Install Tile Backer Boards on Timber Stud Walls
For Timber Stud Walls you can use 10 or 12mm Thermopanel Tile Backer Boards for studs at 300mm centres, or you can use 20mm Thermopanel Tile Backer Boards if the studs are at 600mm centres. Please ensure that all board edges are supported.
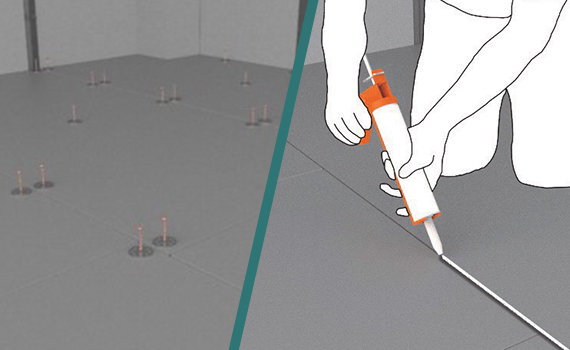
You can fix Thermopanel Tile Backer Boards to the studs using suitable screws and Thermopanel MSW36 Washers, which are made from stainless steel to prevent corrosion. The maximum spacing between fixings should be 300mm.
How to Install Tile Backer Boards on Solid Walls
Option 1: Screw Fixing
Measure the Thermopanel Tile Backer Boards and cut them to size utilising a sharp knife or saw. Wall plugs, screws and Thermopanel MSW36 Washers can be used at 300mm spacing to fix Tile Backer Boards to a solid wall.


Option 2: Tile Adhesive
A 5 to 8mm trowel is used to comb flexible tile adhesive over the whole surface of the Thermopanel Tile Backer Board.
Stagger the Thermopanel Tile Backer Boards in a brickwork fashion, pushing them firmly onto the wall.
Option 3: Drywall Fixing
Apply Thermopanel Drywall Foam to the Thermopanel Tile Backer Board, firstly around the perimeter and then at approximately 300mm centres. For easy installation, lay the board flat with its end against the wall.
Fix the Thermopanel Tile Backer Board to the studs using screws and Thermopanel MSW36 Washers. The maximum spacing between fixings should be 300mm. Allow the foam to cure for 4 to 5 minutes and then lever the board into position. Press firmly across the whole face of the board, starting at the top. Ensure the top and all edges receive as much pressure as the rest of the board.


Preparing Tile Backer Boards for Tiles or Plaster Tiling
All joints should be taped using Thermopanel Joint Scrim Tape (IJT90), with the exception of wet areas where Thermopanel Butyl Tape should be used. The wall can now be tiled.
Plastering: Seal the edges of the Thermopanel Tile Backer Board using Thermopanel Adhesive/Sealant (Thermofix) before applying the Thermopanel Scrim Tape (IJT90). PLaster can now be applied.
Floor Fixing: Tile Adhesive
Use a 5-8mm trowel to apply a layer of flexible tile adhesive on to the base floor. Place the Thermopanel Tile Backer Board down on the adhesive and push firmly down.


Floor Fixing: Screws & Washers into Timber
Measure the Thermopanel Tile Backer Boards and cut them to size utilizing a sharp knife or saw. Lay the panel in the desired position, and use screws with Thermopanel MSW36 Washers to fix the boards every 300mm to the wooden subfloor.
If further waterproofing is required, use Thermopanel Adhesive/Sealant (Thermofix) to seal the joints. Alternatively, in really wet areas use Thermopanel Butyl Tape.
